Create a Project Level Inspection
Also available on
Objective
To create an inspection on your project from an inspection template.
Things to Consider
- Required User Permissions:
- 'Standard' or 'Admin' level permissions on the Project level Inspections tool.
Note: 'Standard' level users will not be able to add an inspection until a Company level inspection template is added to the project.
- Additional Information:
- After a company template is copied to your project, it becomes a project template that can be modified without affecting the company template from which it originated.
- Project templates may be modified in the Project level Inspections tool throughout the duration of the project, but changes will only be reflected on project checklists that are created from the modified template.
- You can use a default inspection template more than once.
-
Beta To create an inspection for equipment, you must first configure the following settings:
Video
Video content may not accurately reflect the current state of the system, and/or it may be out of date.
|
Steps
- Navigate to the Project level Inspections tool.
- Click + Create.
Note: If your company does not yet have Company level inspection templates set up, you will first need to create an inspection template before this button will be active.
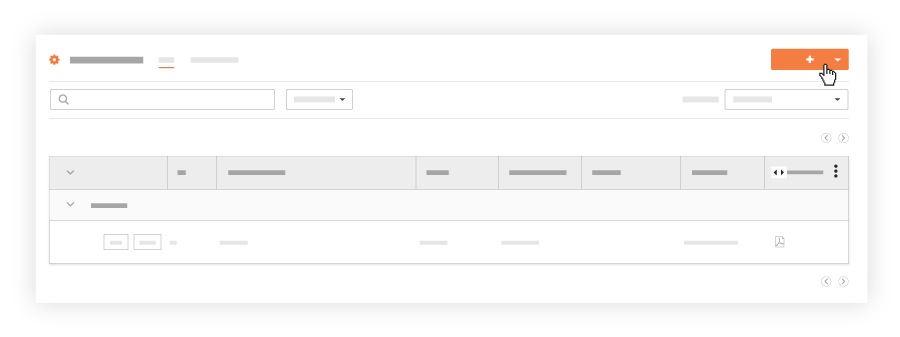
- Select Inspection.
- Select a default inspection template from your list of templates from the drop-down menu.
Note: You cannot use a template that you have not yet added to your project. See Add an Inspection Template to Your Project.
- You will notice that there are fields to fill out that are specific to your project. Enter the relevant information into these fields:
- Name: The inspection's name is set in the Company level template and cannot be edited at the Project level. Reference the number, location or date on the log page to differentiate your inspections.
- Number (#): You can classify your inspection items using alphanumeric characters and symbols. For example, you may use '42', '42.1', '42.3', or alphanumeric codes such as 'SF-1-001', 'SF-1-002'.
- Type: Inspection types are managed in the Company level Inspections tool. See Create an Inspection Type.
- Status: By default, the status field will be set to 'Open'. You can change this to fit your needs.
Note: An inspection's status should be set to 'Open' when someone begins performing the inspection. It should remain open until there are no more deficient items on the inspection. At this point, you should change the status to 'Closed' to indicate that no further action is needed.
- Trade: Edit or add a trade related to your inspection.
Note: If you do not have trades added to your company, the 'Trade' field will appear as an empty field. You will need to add these to your company before you can fill this field out. See Add or Delete Trades.
Note: Click the X next to the item you selected to delete the field.
- Location: Use the location drop-down menu to select a location the [item] impacts. Either select from the predefined locations or Add a Multi-tiered Location to an Item. This location may be as general as the site location at the first tier or as specific as to where on the site the contractor will be working at the second tier.
- Distribution: Add 'Standard' and 'Read Only' users to the distribution list to give them access to view a private inspection in the project.
Note: Notifications for users in a distribution list are managed in Advanced Settings. See Configure Advanced Settings: Project Level Inspections.
- Private: Mark the checkbox next to Private to hide the inspection from anyone except for the 'Point of Contact', 'Assignee(s)', members added to the inspection's distribution list and 'Admin' level users on the project's Inspections tool.
- Spec Section: Reference the specific contract documents or section of the specification book that's related to the inspection by choosing from the drop-down menu.
Note: If the Specifications tool is enabled on the project, the selections in this menu are populated with the spec sections from that tool, and it will display as a link upon saving the inspection. If the Specifications tool is disabled on the project, the selections in this menu are populated with values from the project's Admin tool.
Note: Click the X next to the item you selected to delete the field.
- Description: Add or edit a description of the inspection for your project.
- Attachments: Attach any relevant files from your computer, the project's Photos tool, the project's Drawings tool, the project's Forms tool, or the Project level Documents tool to your inspection for those performing the inspection can reference.
Note: See Add a Photo to an Inspection so that it Populates in the Photos Tool.
- Inspection Date: Select the date the inspection will be performed.
- Due Date: Select the date the inspection needs to be completed.
Note: If an inspection becomes overdue, users will receive 2 emails. One on the day the inspection deemed overdue, and another the following day, if the inspection is still overdue.
- Assignee(s): Select the people who are performing the inspection. By default, Procore will populate this with the creator's name.
- Responsible Contractor: Select the company that performed the work to be inspected. If you selected a point of contact before this, you will only be able to choose from the contractor that point of contact is associated with.
Note: If you do not have any contracting companies added to your Directory, the 'Point of Contact' drop-down menu will appear empty. You will need to go into your Project level Directory to add a contractor and associate a contact with it before you can add in this field.
Note: Click the X next to the item you selected to delete the field.
- Point of Contact: Select the person from the point of contact's group who performed the work to be inspected. If you selected a 'Responsible Contractor' before this, you will only be able to choose the company the point of contact is associated with.
Note: If you have a contractor added to your Directory that doesn't have a contact associated with it, the 'Point of Contact' drop-down menu will appear empty. You will need to go into your Project level Directory to associate a contact with your responsible contracting company before you can add in this field. Only users with 'Standard' level permissions or above on the Observation tool may be listed as the Inspection's 'Point of Contact'.
Note: Click the X next to the item you selected to delete the field.
- Optional: Under Inspection Items Preview, review the inspection items and their response options.
- Click Create.