Extract Project Data Using Procore Extracts
Objective
To download data from a project using the Procore Extracts application for Windows.
Background
The Procore Extracts application is useful when your company wants to save an archive of a project's information. The application exports the data to a series of files and folders that are organized in a single folder on your computer. After the extraction process is complete, you can open the folder to view the data from the project by tool.
Things to Consider
- Required User Permissions:
- 'Admin' level permissions on the tools you want to extract data from.
- Additional Information:
- Important! In order for the extract to run and complete, there must be an active internet connection and the computer must stay powered on. If you lose internet connection or your computer goes to sleep or powers off, the system attempts to resume progress up to 3 times and then pauses the operation. Once the internet or power is restored, the extract automatically resumes.
- By default, the downloaded files from the extract are saved within an 'Extracts' folder on your computer. The Extracts folder contains a folder structure with the project name, the date and time of the extract, the project tools and the items in the tools.
- We recommend saving extract data to a local drive on your computer instead of a shared drive.
- Most items in Procore are downloaded as PDFs. Files such as documents and photos are downloaded as their original file type (for example, .xls and .jpeg).
- If the file path name was modified during the extract in order to save successfully, a “File Rename Information” CSV file appears in the folder. This file lists the original file name, along with the file name it was modified to. See What is the "File Rename Information" file included with my extracted project information?
Prerequisites
Steps
- Open Procore Extracts on a Windows computer.
- Log in to Procore.
- Choose the company and project you want to extract information from.
Note: Only projects set to 'Active' are available to extract from. See Change a Project's Status to Active or Inactive. - By default, the extract is saved to a new 'Extracts' folder within your computer's documents folder (e.g. C:\Users\Person\Documents\Extracts).
Click Change Location if you want to choose a different location for the files to be saved on your computer. We recommend saving extract data to a local drive on your computer instead of a shared drive.- Use the browse file explorer to select a folder or click Make New Folder to create a new folder for the extracts to be saved to.
- Click OK to confirm the new location or click Cancel to return to the default location.
- Mark the checkboxes next to the tools you want to extract items from or mark the checkbox next to 'Select All' to select all available tools.
Note:- By default, any items that were attached to items in the selected tools will be extracted. If you do not want to include the attachments, uncheck the box next to 'Include Attachments'.
- The Drawings tool has an additional option to include only drawings from the 'Current Set'. Clear the checkbox if you want to extract all drawings in the project.
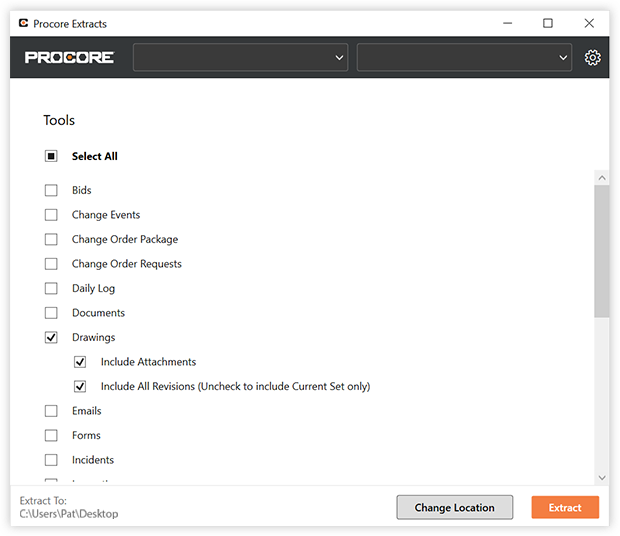
- Click Extract.
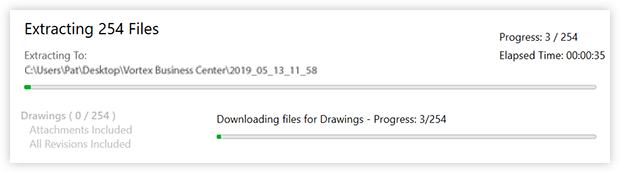
- A progress bar is shown, along with the elapsed time.
Note: If you want to cancel the extract, click Cancel. If the extract is successful, you will see a completion message.
- Click View in Folder to be taken directly to the folder containing the items.
- Click Exit to close the application.
OR
Click Perform Another Extract to begin another extract.
Note: If you want to perform an extract for a different company or project, use the drop-down menus at the top of the application.