Add Programs
- Last updated
- Save as PDF
Objective
How to add programs (i.e. project groups) to better organize your projects.
Background
A project is a construction effort with a defined start and end date with specific goals and objectives that, when obtained, signify completion of the project. A program is a group of related construction projects that provide your organization with benefits from managing projects as a group, over managing projects individually. There are countless ways to organize your company's projects into programs, such as:
- Region. For example, you might create programs for the four (4) regions of the U.S., such as 'Northeast', 'Midwest', 'South', and 'West.'
- Sector. For example, you might create programs for the different construction sectors, such as 'Buildings', 'Infrastructure', and 'Industrial.'
- Project Management. For example, you might create programs for 'Internal Projects' and 'External Projects'.
Things to Consider
- Required User Permission:
- To add programs, 'Admin' on the company's Admin tool.
OR - To view programs, 'Read-Only' or higher on the company's Programs tool.
AND- In order to view a project that is associated with a program, you must be granted access permission to that project.
- To add programs, 'Admin' on the company's Admin tool.
- Prerequisites:
- The Programs tool must be enabled by Procore. See Request to Enable the Programs Tool below.
- Additional Information:
- There is no limit to the number of programs you can create.
- You cannot delete a program from this list when it is assigned to one (1) or more projects in your company's Procore account.
Demo

Steps
Request to Enable the Programs Tool
To enable the Programs tool in Procore, a user with 'Admin' level permissions to the company's Admin tool must submit a request to your Procore point of contact or send an email to: support@procore.com.
Add Programs
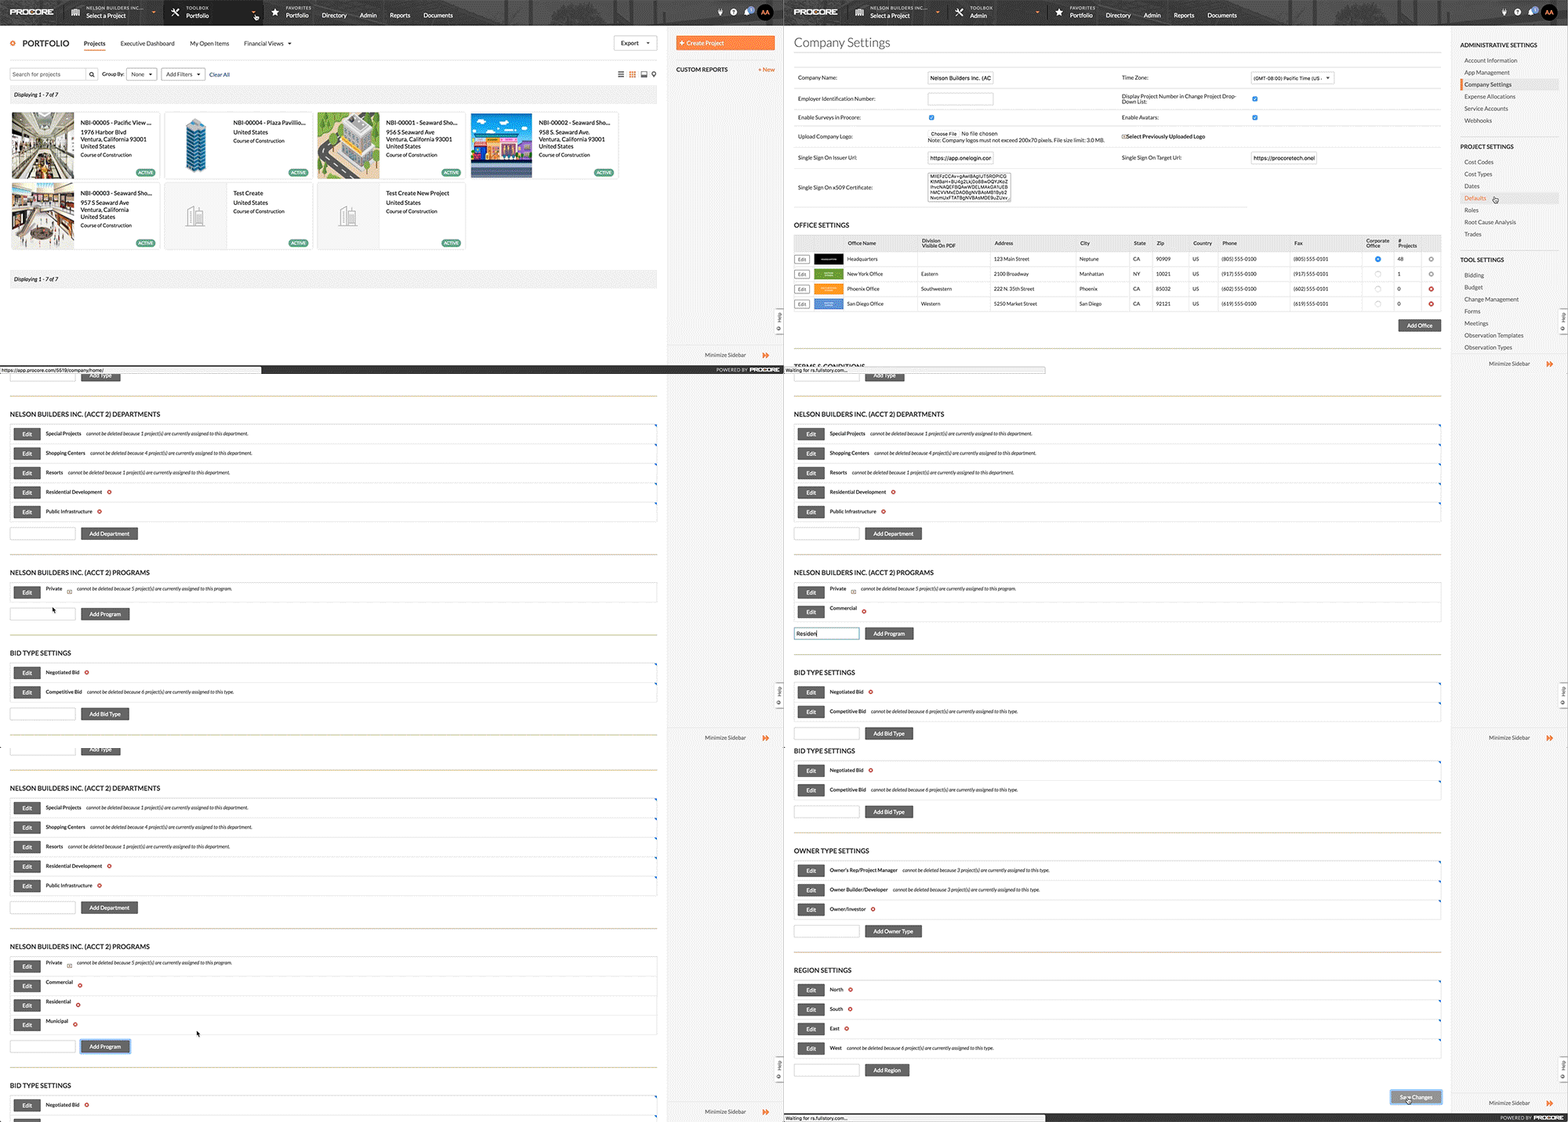
After the Programs tool is enabled, do the following:
- Navigate to the company's Admin tool.
- Under 'Project Settings,' click Defaults.
- Scroll to the
Programs section. - Do the following:
-
Program Name. Enter a name for the new program. It is recommended that you create short, unique names (Note: The names that you enter here will appear in the Programs tool. See Programs).
-
Add Program. Click this button to add the new program.
-
- Repeat the step above for each program.
- Click Save Changes.
Note: If you want to add information to the program, you must edit the program. See Edit Program Information.
Next Steps

