Add a Custom Project Stage
Objective
To add custom project stages to your Procore account that can be selected and used by all projects.
Background
By default, each Procore account has the following construction phases predefined as selectable options for defining a project's current phase/stage of construction: Tendering, Pre-Construction, Course of Construction, Warranty, and Post-Construction. However, your company might have its own unique set of construction phases. In such cases, you can create custom project stages, as necessary.
Another reason why you would need to add custom project stages to your Procore account would be to allow tendering during other non-Bidding project stages. By default, the Tendering tool's features are only active when 'Bidding' is selected as the current project stage. However, if you need to use the Tendering tab to create tender packages and collect tenders during an active construction phase because a change order introduced new line items, you can create a new custom project stage where the tendering functionality is enabled.
Things to Consider
- Required User Permission:
- 'Admin' level permission on the Company level Admin tool.
- Additional Information:
- You cannot designate one of the other default project stages as a Tendering stage.
- If your organization's Procore account does NOT have Tender Management, the 'Bidding Stage' column will not show. Please reach out to your Procore point of contact for more information.
- You cannot delete a project stage if a project is currently assigned that stage. However, if you want to replace the 'Course of Construction' stage with a custom stage that has tendering enabled (e.g., Course of Construction with Tendering), create the new stage, assign active projects to it and then delete the original 'Course of Construction' stage.
- The custom project stages that you create below can be used for RFI prefix numbering. For details, see How do I configure a prefix and starting number for a project's RFIs?
Steps
- Navigate to the Company level Admin tool.
- Under 'Project Settings' in the sidebar, click Defaults.
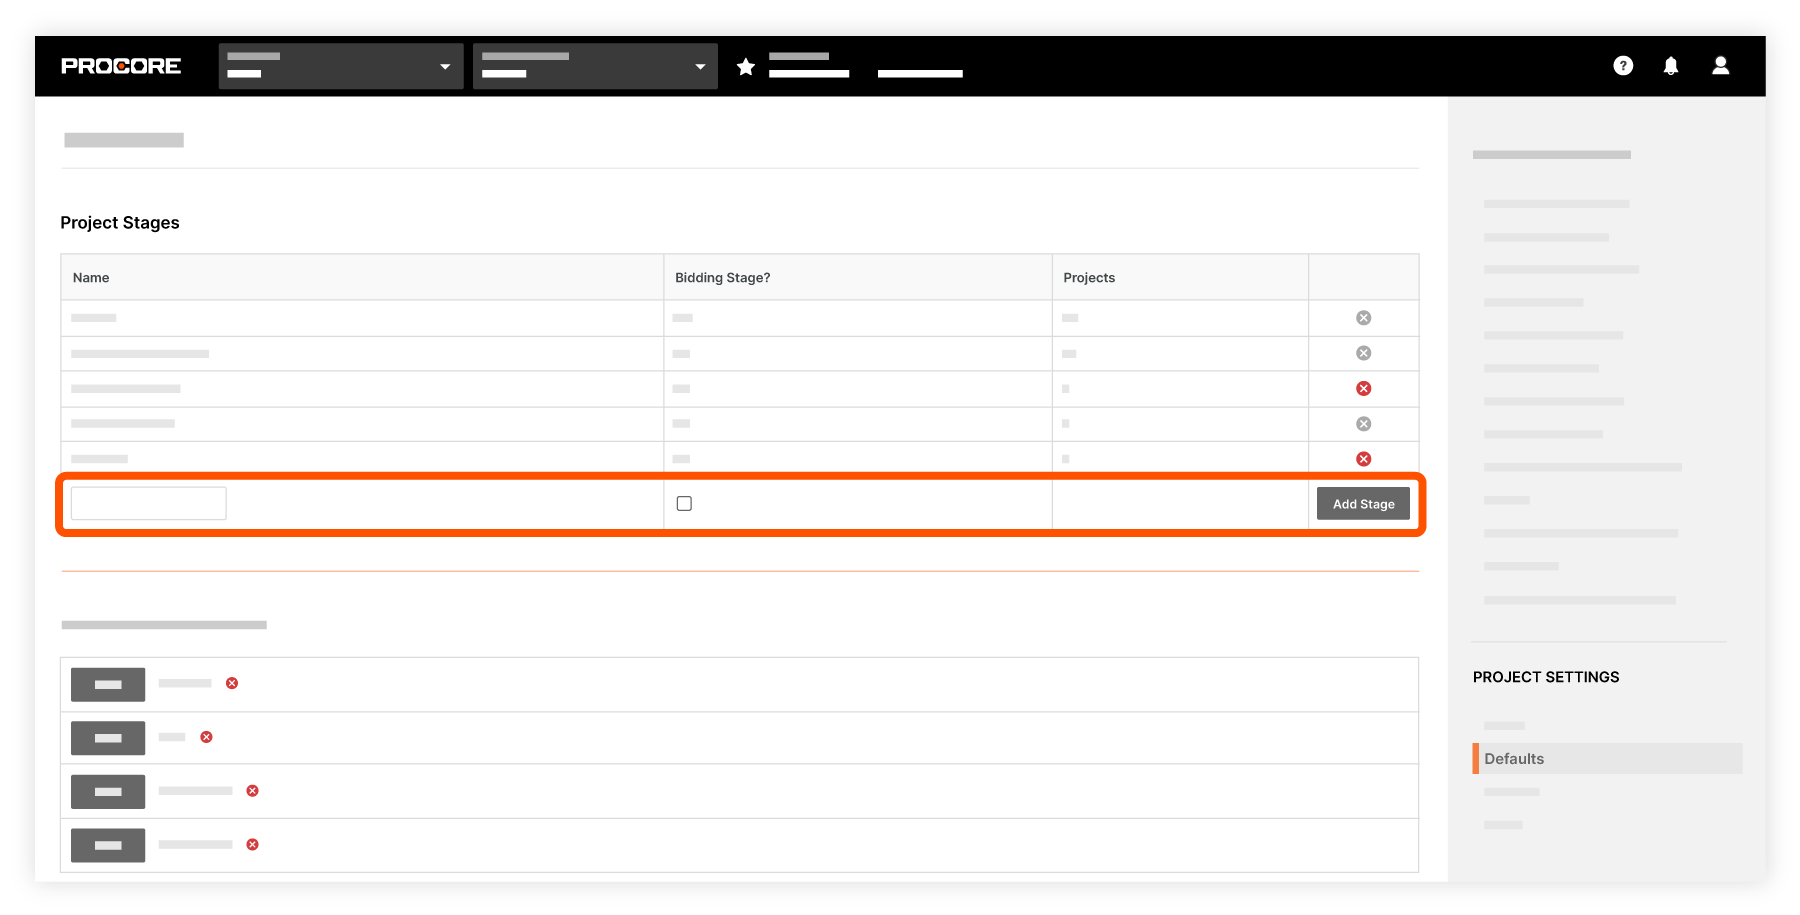
- Complete the following in the 'Project Stages' section:
- Click Save Changes.
Any custom project stages you added can now be selected in the 'Stage' section when creating a new project or editing an existing one. See Create a New Project or Update General Project Information.