Complete a Commitment Change Order with DocuSign®
Objective
To complete the electronic signature process for a commitment change order using the Procore + DocuSign® integration.
Background
After you create commitment change order for a commitment, Procore users with a DocuSign® account can prepare a DocuSign® envelope and send the Procore document to the appropriate recipient(s) to request a signature.
Things to Consider
- Required User Permissions:
- 'Admin' level permissions on the project's Commitments tool.
AND - If the Change Events tool is added to the project, 'Standard' or 'Admin' level permissions on the project's Change Events tool.
- 'Admin' level permissions on the project's Commitments tool.
- Additional Information:
- Once you log into your DocuSign® account from Procore, you will NOT need to sign in again until the login token expires. Once expired, the 'Re-Authentication Required' banner appears in Procore. To learn more, see What do the different DocuSign® banners in Procore mean?
Prerequisites
- Create a commitment change order. You will need to know the change order tier setting configured on the project's Commitments tool. See What are the different change order tier settings in Project Financials? If your project is configured with the:
- 1-Tier Setting. See Create a Commitment Change Order.
- 2- or 3-Tier Setting. See Create a Change Event and then Create a Commitment Change Order from a Change Event.
Steps
Open a Commitment Change Order in Procore
The steps below show you how to open a commitment change order in Procore.
- Navigate to the project's Commitments tool.
- In the Contracts tab, locate the commitment to work with and click the arrow to expand the commitment's change orders.
- Click the Change Order link to open it.

- In the change order, click Edit.
- Mark the Sign with DocuSign check box.

- Scroll to the bottom of the page and click Complete with DocuSign.

Procore launches the DocuSign® web application. If you are NOT logged into your DocuSign® account, you must follow the steps in Log in to DocuSign®. If you are already logged in, proceed to Prepare the DocuSign® Envelope.
Log in to DocuSign®
Prepare the DocuSign® Envelope
Once you are logged into the DocuSign®, the 'Upload a Document and Add Envelope Recipient' page appears. Complete these steps:
- Add Documents to the Envelope
- Add Recipients to the Envelope
- Add a Message to All Recipients
- Preview the Signature Fields & Send the Envelope
Add Documents to the Envelope
The following Procore information automatically populates the DocuSign® envelope:
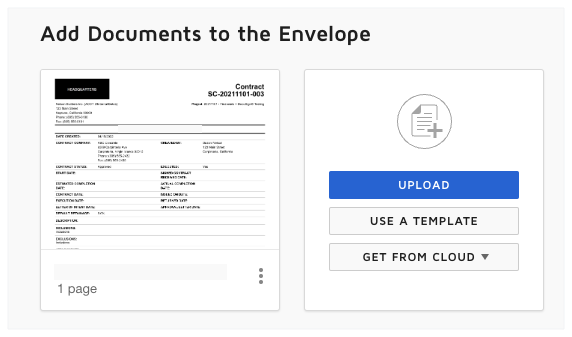
- A PDF copy of the change order is automatically added to the 'Add Documents to Envelope' section.
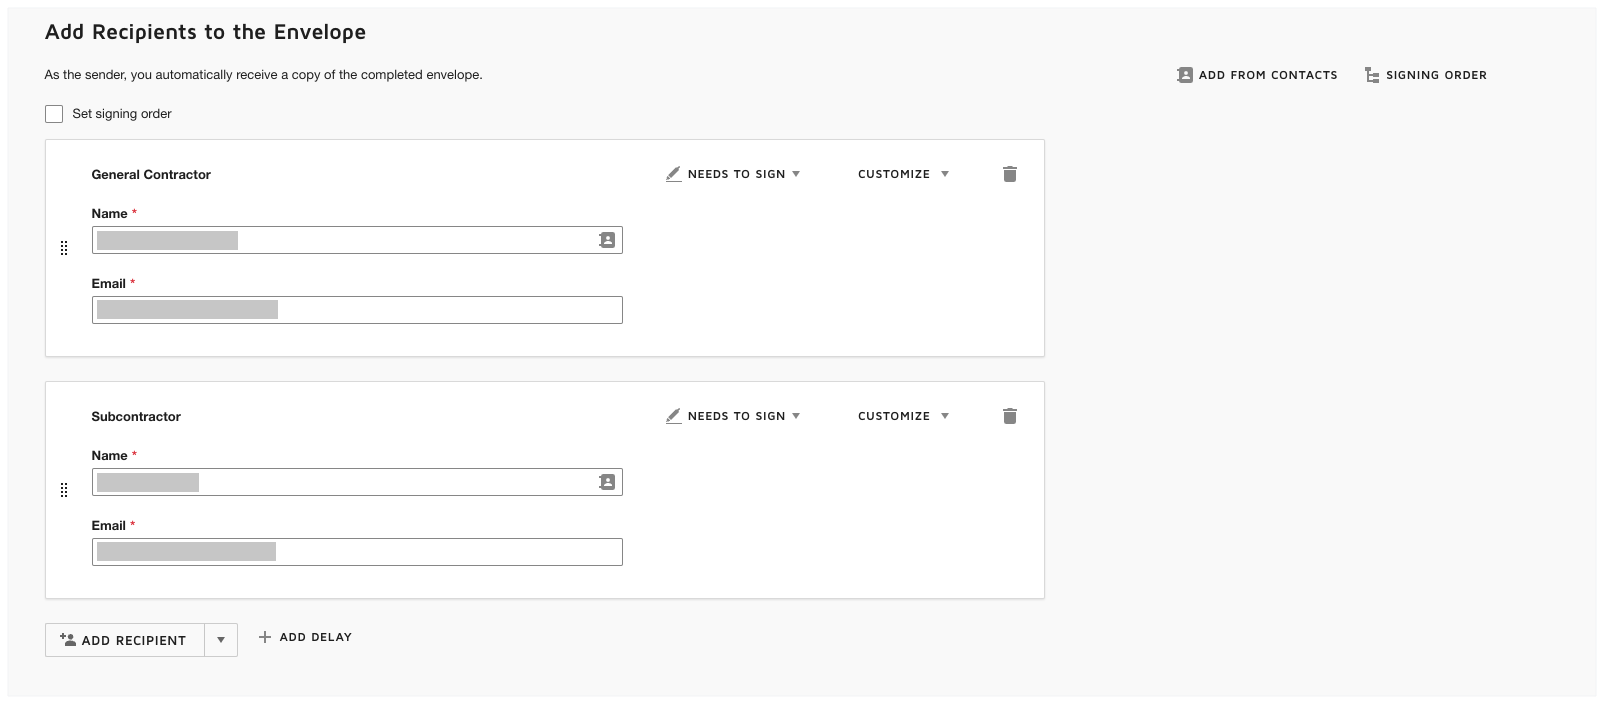
- The required signature boxes for each 'Role' on the contract. For example, the General Contractor or Subcontractor whose contract is affected by the change order. This includes each users 'Name' and 'Email Address.' For more information, see Add Recipients to the Envelope below.
- Optional: If you want to add additional documents to the envelope, choose one of the available options under the 'Add Documents to the Envelope' section:

Note
The available options in the 'Add Documents to the Envelope' section are developed and maintained by DocuSign®. To learn how to use DocuSign®, Procore recommends reviewing the content on support.docusign.com.- Upload
- Use a Template
- Get From Cloud
Add Recipients to the Envelope
To add recipients to the envelope:
- Under 'Add Recipients to the Envelope', keep the default recipient blocks, their names, and their email addresses. This data is added to the envelope automatically by the Procore+DocuSign® integration. If the data was specified in Procore, the values in the 'Name' and 'Email Address' fields of the recipient blocks correspond to these fields in Procore:
- Subcontractor. This is the individual designated in the 'Architect/Engineer' field of the commitment associated with the change order.
- General Contractor. This the individual who is designated in the 'Primary Contact' field in the Project Directory for the company designated in the 'Contractor' field of the commitment associated with the change order.

Add a Message to All Recipients
Preview the Signature Fields & Send the Envelope
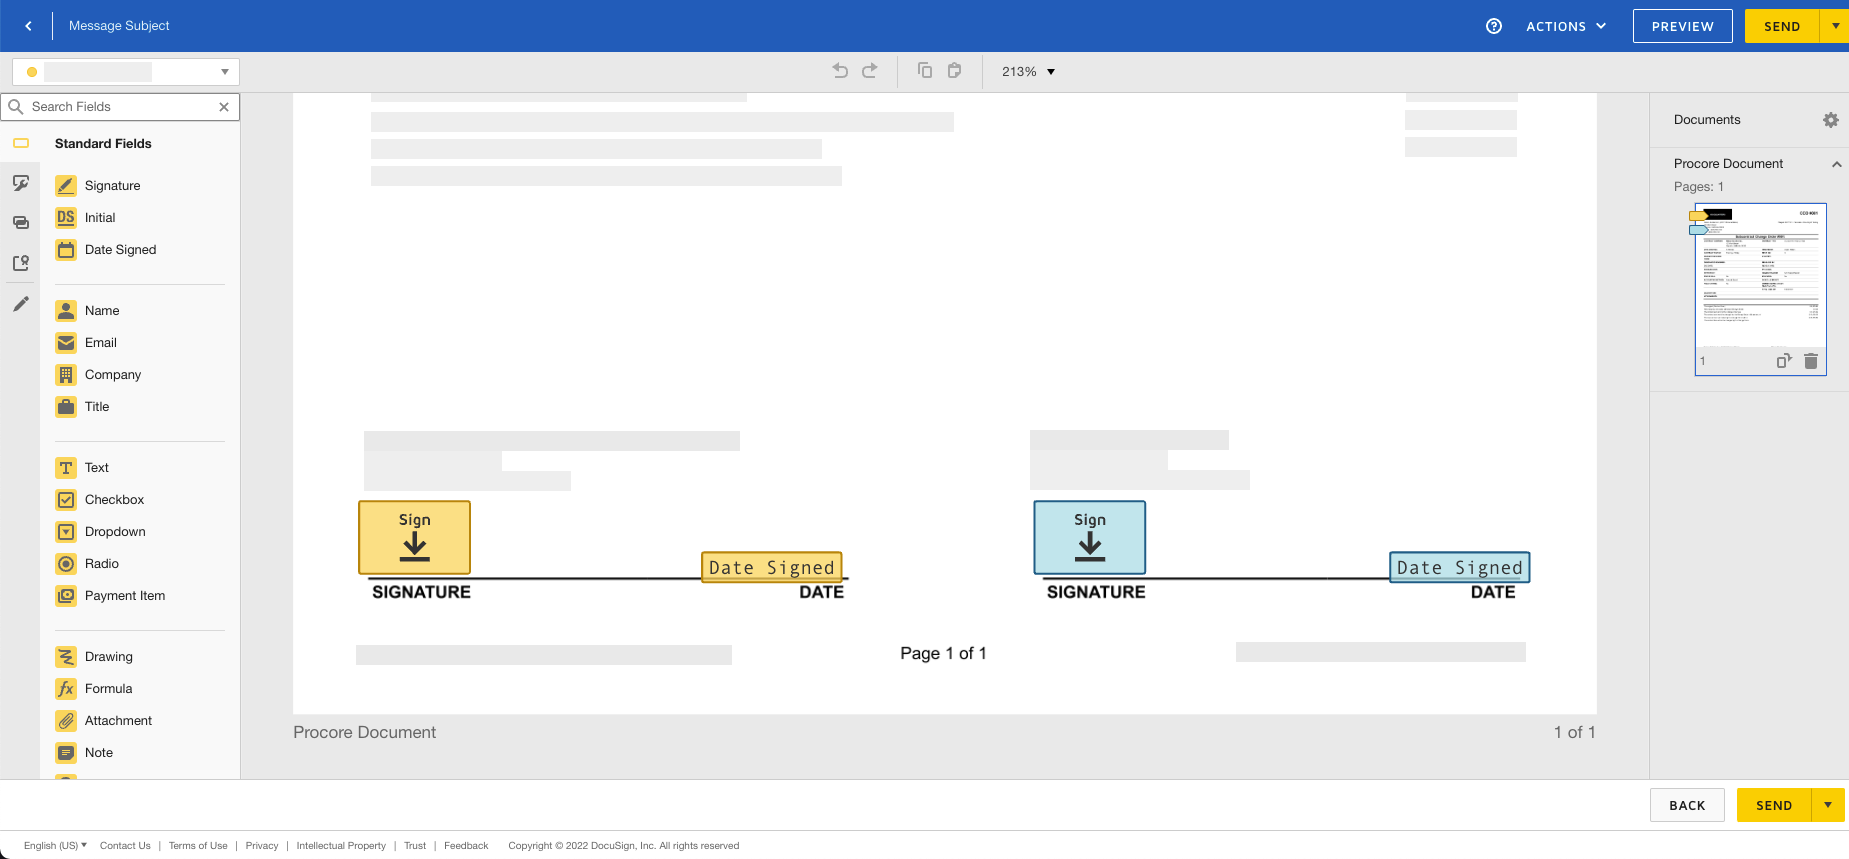
The next step is to preview the signature fields on the DocuSign® document. The signature fields correspond to specific roles in Procore. For example, the General Contractor and Subcontractor who are parties on the contract associated with this change order. The Procore + DocuSign® integration automatically adds these fields to the DocuSign® envelope.
- Scroll to the bottom of the DocuSign® document, to view the signature fields. An example is pictured below.

- In the DocuSign® document, leave the signature fields in their default position(s). This ensures the Procore + DocuSign® collection process works as designed.
- Optional: Add any 'Standard Fields' to the form as desired.
Note
The options in the 'Standard Fields' area are developed and maintained by DocuSign®. To learn how to use DocuSign®, Procore recommends reviewing the content on support.docusign.com. - When you are ready to collect the specified signatures, click Send.
DocuSign® sends the envelope to the specified recipients. Recipients can then continue with the Next Step. After the required signatures are applied to the document, Procore's default behavior is to change the status of the item in Procore to 'Approved'.

