Assign a Custom Report to All Projects
Objective
To assign a custom report to all of the projects in your company's account.
Background
Assigning custom reports to all projects allows company administrators to standardize reports across the company and create consistency in reporting. Assigning custom reports to all projects differs from cloning a report, because you are adding this report to all projects in the company rather than simply copying the report to the same company or project's Reports tool. To learn how to clone a custom company report, see Clone a Custom Company Report. Assigning custom reports to all projects also differs from sharing a report, because sharing a report only allows other users access to the report and the report does not propagate in all projects. To learn how to share a custom company report, see Share a Custom Company Report.
Things to Consider
- Required User Permissions:
- 'Admin' level permissions on the Company level Reports tool.
- Additional Information:
- Only users with 'Admin' level permissions on the Company level Reports tool can edit or delete the custom report. Any changes are reflected across all reports on all projects.
- Assigning a custom report to all projects will also add the report to any new project created.
- Custom company reports that are assigned to projects can be viewed and cloned in the Project level Reports tool by users with the appropriate permissions. See View a Report and Clone a Custom Project Report.
Steps
- Navigate to the Company level Reports tool.
- In the My Custom Reports section, click on the report that you want to assign to all of your company's Procore projects.
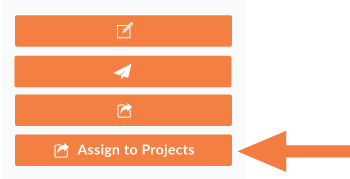
- Click Assign to Projects.
- In the Assign to Projects window, click Assign.
The report is added to all of the Active projects in your company's Procore account and the word "Template" is added to the original title of the report. For example, if your report is titled "Financials Report," the report will show up under the [Project Name] Templates section in each Project level Reports tool as "Financials Report - Template".