Bulk Enter Timecard Entries on a Timesheet
Bulk Enter Timecard Entries on a Timesheet
Objective
To create and update timecard entries using the 'Bulk Time Entry' button in the Project level Timesheets tool.
Background
With the Bulk Time Entry button in the Timesheets tool, you can apply the same information to the timecard entries for your crews and employees on a single timesheet. Simply select the timecard entries to modify on a timesheet and then click the Bulk Time Entry button to reveal a section that allows you to update the selected timecard entries at once.
Example
You are a concrete foreman who wants to create timecard entries on a daily timesheet to record that all of your crew members who worked 8 hours pouring concrete. However, 2 of those crew members worked 2 hours of overtime cleaning up.
- Using the bulk entry options, you can perform a bulk action to create a timecard entry for all of the crew members who worked 8 hours at one time.
- After completing that entry, you can use the bulk entry option again to add a line time for the two employees who worked 2 hours of overtime.
Things to Consider
- Required User Permissions
- You can create one (1) daily timesheet per date.
- You can create a daily timesheet for any past, current, or future date. By default, the 'Select Date' field on the 'Create Daily Timesheet page is set to the current date.
- Your daily timesheet must include at least one (1) timecard entry for any worker or employee for whom you want to log time on a given date.
- Each employee or worker can have multiple timecard entries on a daily timesheet.
- Zero (0) hour timecard entries are supported. This provides your team with the flexibility it needs to enter time off and per diem.
- In your environment, some fields may be configured to be required, optional, or hidden. See Create New Configurable Fieldsets and Which fields in the Timesheets tool can be configured as required, optional, or hidden?
- You can create Project and Company level custom reports and use the Timesheets tool for source data. See Create a Custom Project Report.
Prerequisites
Steps
- Navigate to the project's Timesheets tool.
- Click Create. Then select New Daily Timesheet from the drop-down menu.

- In the 'Add Employees' window, select the checkboxes next to the employees and crew members you want to bulk enter time for.
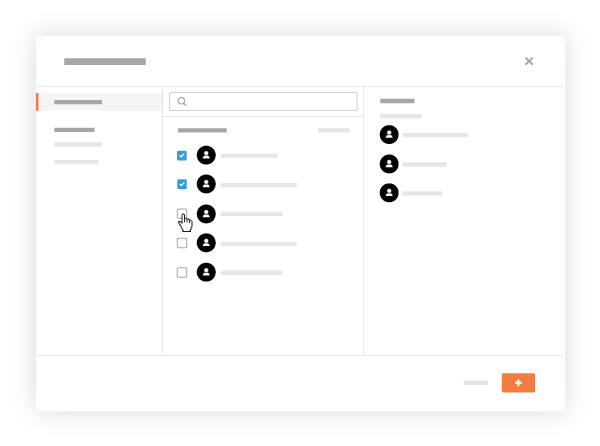
Notes
- To appear in this list, the person must be added to a Directory and a checkmark must appear in the 'Is Employee of <Your Company>' box on their profile. For more information on how to check for this setting in a user's profile, see Edit a User Account in the Project Directory.
- Employees who are only entered in the Company Directory can be selected if the 'Can company employees be tracked on all projects?' setting is enabled. See Configure Advanced Settings: Company Level Timesheets.
- With the setting "Employees Can Be Tracked On All Projects" enabled, you must have at least 'Read Only' permissions on the Company Directory tool to see all employees and workers.
- To select a crew, a crew must first be created in the Crews tool. For more information, see Create a Crew.
- Click Add.
- Mark the checkboxes next to the employees you would like to enter the same time information for.

- Click the Bulk Time Entry button.

- Select the timecard entries that you want to update in bulk:
- To select all timecard entries, mark the checkbox to the left of the Bulk Time Entry button.
- To select specific timecard entries, mark only the checkboxes that you want to update in bulk.

- Click any the editable fields on the timesheet to update the information.

- In the 'Bulk Entry' section, click the Apply button.
- Optional: If you want to create another bulk entry, clear the checkboxes and then select the ones that apply for your next entry and repeat the steps above.
See Also
If you would like to learn more about Procore's timesheet management software and how it can help your business, please visit our construction timesheet software product page  .
.