Background
Use the steps below when you need to create a prime contract change order.
Things to Consider
- Required User Permissions:
- 'Admin' level permissions on the project's Prime Contracts tool.
- Additional Information:
- For companies using the
 ERP Integrations tool: Show/Hide
- Not all ERP integrations support the sync of change orders. For those that do, additional requirements, limitations, and considerations vary depending on the ERP system your company's account is integrated with. See Things to Know About your ERP Integration for details.
Steps
- Navigate to the project's Prime Contracts tool.
- Locate the prime contract to work with. Then click its Number link.
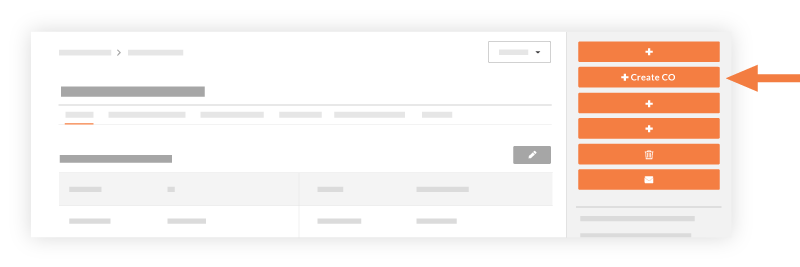
- Click Create Prime Contract CO.
- Complete the following fields:
-
Tip
How do you collect signatures with DocuSign? After the data entry for the item is complete, Procore recommends changing the item's status to 'Out for Signature' before clicking the
Complete with DocuSign button to launch the DocuSign® application. If you have not previously signed in, you will be prompted to
Log In to DocuSign®. Once you are signed in, you can prepare the DocuSign
® envelope for signatures. After the signature process is complete, Procore automatically changes the status of the item to 'Approved' and marks the item as 'Executed'. To learn more, see
DocuSign®.
-
#
Accept the default number, enter a new number, or create a custom numbering scheme for this change order and future ones.
Notes
- Procore automatically assigns the item a new number in sequential order. For example; 001, 002, 003, and so on.
- To use a custom numbering scheme, enter any set of alphanumeric characters. Procore automatically assigns new numbers in sequential order using your custom scheme.
-
Date Created
Shows the date and time the change order was created in Procore. You cannot change this date.
-
Revision
If you revise a change order later, you can enter the revision number here.
-
Created By
Procore automatically populates this field with the name of the user who created the change order.
-
Title
Enter a descriptive name here.
-
-
Private
Mark this checkbox if you want the item to be private. This means it is only visible to users with 'Admin' level permissions on the contract (or funding).
-
Due Date
Select a due date to indicate the date by which the 'Designated Reviewer' must approve or reject the change order.
-
Invoiced Date
Select the date when the change order was invoiced.
-
Designated Reviewer
Select the Procore user at your organization who is responsible for approving or rejecting the change order. To appear as a selection in this list, the designated reviewer's Procore user account must be added to the Project Directory and have 'Standard' level permissions or higher to the contract or funding tool. See Add a User Account to the Project Directory.
-
Paid Date
Select the date that payment was received for the change order.
-
Description
Enter a more detailed description of the change order.
-
Schedule Impact
If this change order is expected to impact the construction project's schedule, enter the estimated number of additional days this would add to the schedule.
-
Revised Substantial Completion Date
If the change order modifies the substantial completion date for the contract, select that date from the calendar control.
Note
If the substantial completion date is enabled on the 'Configure Settings' page of the tool, Procore updates the change order's 'Revised Substantial Completion Date' field after the change order is placed into the Approved status.
-
Executed
Mark this checkbox after the change order is fully executed.
- Depending on the change order tier settings of the Prime Contract's tool, one (1) of these list boxes will appear:
- Choose one (1) of these options:
- To create the change order, click Create.
OR
- To create the change order and send email notifications, click Create & Email.
OR
- If you are using the Procore + DocuSign® integration to collect signatures, click Complete with DocuSign. To learn more, see DocuSign®.
 .
.