Configure Settings: Project Admin
Objective
To configure settings for the project's Admin tool.
Background
The options in the Project Settings menu give you the ability to configure a variety of advanced settings for a project.
Things to Consider
- Required User Permissions:
- 'Admin' level permissions on the Project level Admin tool.
OR - For many actions, 'Read Only' or Standard' permissions on the Project level Admin tool, AND one or more granular permissions. See Grant Granular Permissions in a Project Permissions Template for more information.
- 'Admin' level permissions on the Project level Admin tool.
Steps
To learn about your options, click a link below:
Configure Project Settings
Under Project Settings, click a link to perform the following tasks:
| Project Settings | Click this link... | To perform these tasks... |
|---|---|---|
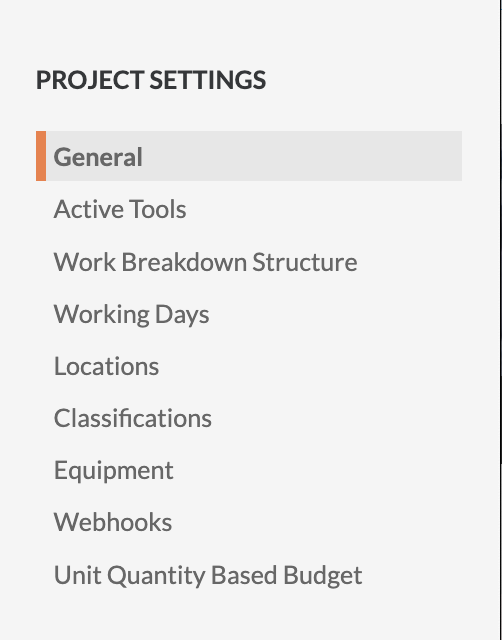 |
General |
Update General Project Information Enable ERP Job Cost Transaction Syncing on a Procore Project |
| Active Tools | Add and Remove Project Tools | |
| Work Breakdown Structure 1 | Create Your Project's Work Breakdown Structure | |
| Working Days | Set Project Working Days | |
| Locations | ||
| Spec Sections 2 |
Add Spec Sections to the Admin Tool Import Spec Sections to the Admin Tool |
|
| Locations | ||
| Classifications | Enable Classifications on a Project | |
| Equipment | Add Equipment | |
| Webhooks | Configure Project Webhooks | |
| Unit Quantity Based Budget | Import a Unit Quantity Based Budget |
1 Cost code, cost type, and the optional sub job segment are part of Procore's Work Breakdown Structure. For the 'Sub Jobs' segment to appear, your company's Procore Administrator must enable the sub job feature. See Enable Sub Jobs on Projects for WBS.
2 The 'Spec Sections' link only appears when the Project level Specifications tool is NOT an active tool on the project.
Tool Configuration
To learn about the options in the Tool Configuration menu, see the links below:
Note: These options only appear if the corresponding tool is active on the project. See Add and Remove Project Tools
| Tool Configuration | Click this link... | To perform these tasks... |
|---|---|---|
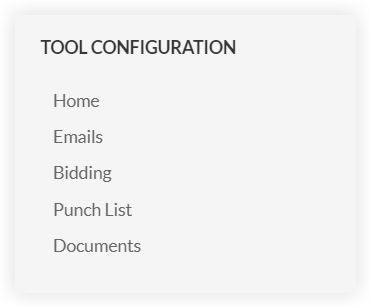 |
Home | Update the Project Home Settings |
| Emails | Configure Advanced Settings: Emails | |
| Tendering | Edit Project Tendering Configuration | |
| Deficiency List | Configure Advanced Settings: Deficiency List | |
| Documents | Configure Advanced Settings: Project Documents |
Permissions
- Click the Configure Settings
 icon.
icon.
Note: The Permissions Table page automatically opens. - Set the user's access permission level for the tool by clicking the icon in the desired column so a GREEN checkmark appears:
-
The color-coded icons in the user permissions area denotes the user's access permission level to the tool. To learn more, see What are the default permission levels in Procore?
Icon Color Definition 
GREEN The user has been granted this access permission level to the tool. 
RED The user has NOT been granted this access permission to the tool. 
GREY The user is either a Procore Administrator or has been granted permissions to the Procore tools on this project using a permissions template (see What is a permissions template?). To change the user's permission level to this tool, see Manage Project Permissions Templates.
SUPERUSER ONLY
Superuser: Settings
In the 'Superuser' menu, you have these options:
- All Project Settings
Click this link to reveal the Admin page where you can configure the settings for ALL project tools (whether or not they are active on the project). - Everything In Procore
Click this link to open a new browser page that lists all of the items created in each tool in the Procore project. - Configuration Change History
Click this link to open the Change History page. This page shows the configuration changes for the project.